
Publishing your app to the store is no doubt a big step. But even more important are regular updates. I try not to forget how to do this (let alone for the different stores) so if that’s no reason for this post, nothing is.
The problem
Especially a framework like flutter gets several updates in a month. So do your plugins and dependencies. That is reason enough to process a monthly update. I also read it’s good for your store ranking…
Then there is the apple store, play store, a hosted web app and desktop apps to come. I can’t be the only one to sit in front of her development environment, thinking “damn, I did that just a month ago, but I can’t remember, which button to click…”
At first: run the current version in its environment. Emulator, Device, Browser, Desktop.
This is besides all the testing and version management.
Play-Store Update
Before creating a new version, check the version name and version code of your current app version, to prevent complications.
Build the Signed Bundle
The google play store needs an apk file or app bundle to insert into your release. To get this, the project needs to be opened in Android Studio (to be precise, the android directory of the project).
When using any test IDs, i.e. for advertisement, remember to replace them.
Open the local.properties file to adjust release information.
flutter.buildMode=release
flutter.versionName=2.0.2
flutter.sdk=/Library/flutter
sdk.dir=/Users/erdbaerchen/Library/Android/sdk
flutter.versionCode=42
The version code must be higher than that of your current app.
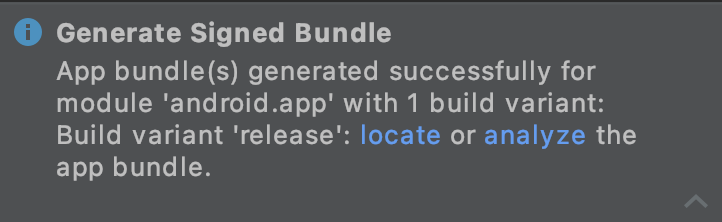
To generate the build file, use Build > Generate Signed Bundle / APK. This will take some time after which you may use the locate link in the event log to open the directory with your new app file.
Create a new release
Depending on which track you want to deploy on, choose “production”, “open test” (beta) or “closed test” and create a new release using the large blue button on the upper right.
Upload App Bundles or APKs, you can use drag and drop from your located directory. The file will upload and display a new build entry below the field. The Release-Name will be inserted from the build file. Then you want to enter some Release Notes for the new functionalities or changes in this new version. This will later be displayed in the app store.
Use Save, Check and Release to publish your new app version. Depending on your apps size, this might take one hour or more.
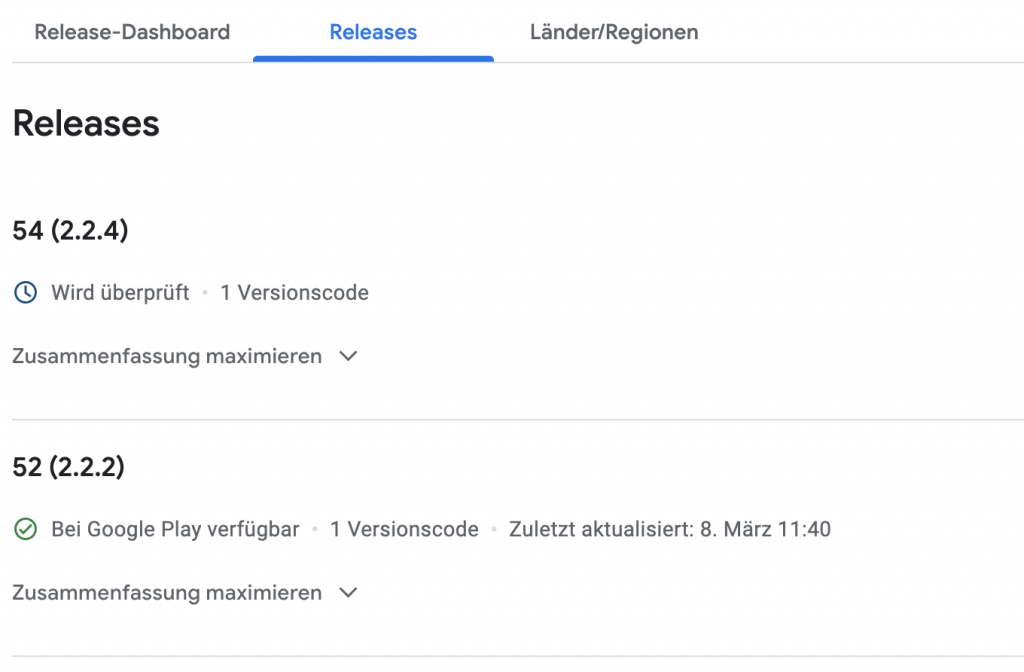
As soon as your update is available in the app store, you can see it in your Releases list.
App-Store Update
The first step is done in Xcode. Again, check your current build and version number.
When using any test IDs, i.e. for advertisement, remember to replace them.
Build the archive
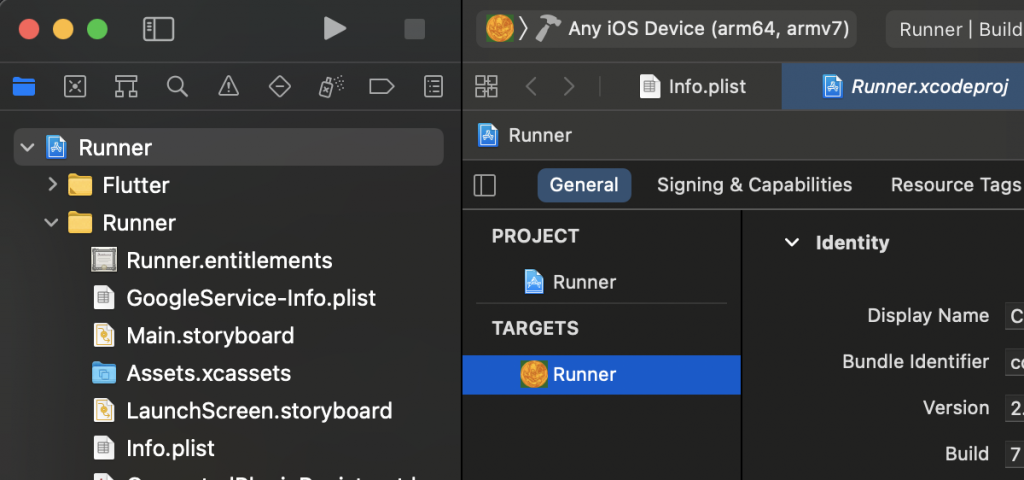
To use the correct files, select the projects Runner and select Any iOS Device as build goal. In the General settings tab make sure, that your version and build number are higher than those of your active build version in the app store.
Selecting Product > Archive will build the new archive. After the build succeeded a window with a list of archives will open. Another chance to check build and version number. Click Distribute App to continue. It follows a straight forward wizard after which the archive is prepared for distribution. This takes some time…
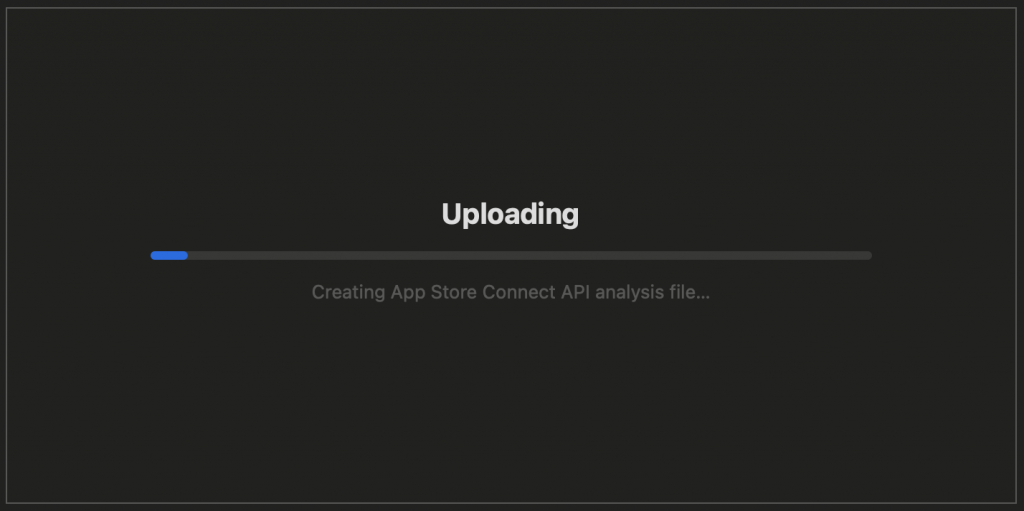
You will get an error or a summary of the app you are about to upload. Click Upload. And wait.
After it says “successfully uploaded”, click Done and go on with the next step.
Xcode is sending its new build directly to the app store. But this may take a few minutes. In the meantime proceed creating the next release.
You may receive several e-mails concerning errors in your app, that lead to a refusal.
Create a new release
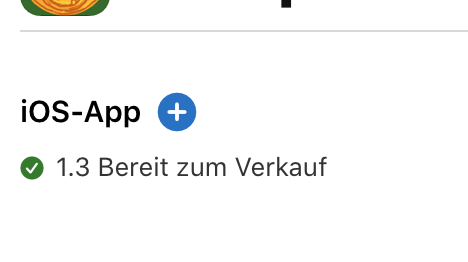
Open the App Store Connect in your browser and navigate to your app. Below the app title, click the round + button to add a new release.
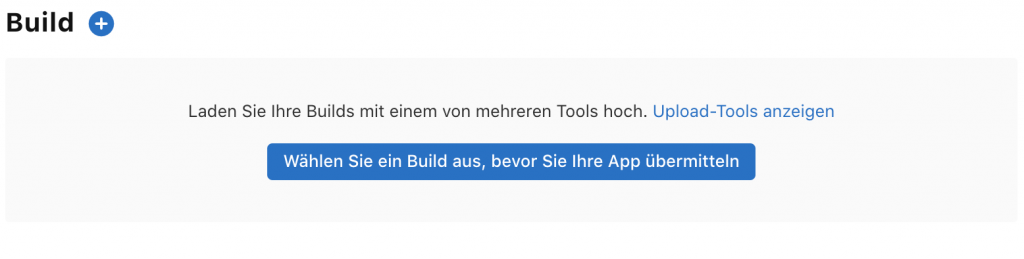
Enter release information. To select your fresh build, you have to wait for apple to approve it.
As soon as you received an e-mail saying your app has completed processing, you are able to select a build in the App Store Connect.
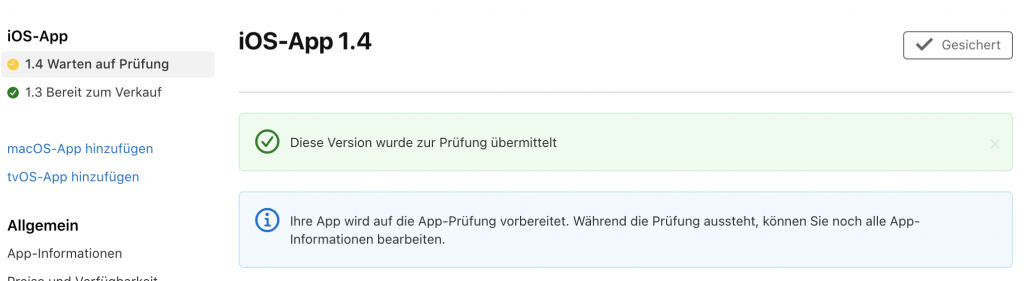
Select your build, save and enter for processing. Below your app title, the state of your release will be shown. Plus you will receive an e-mail saying that your app is Waiting for Review.
Wait
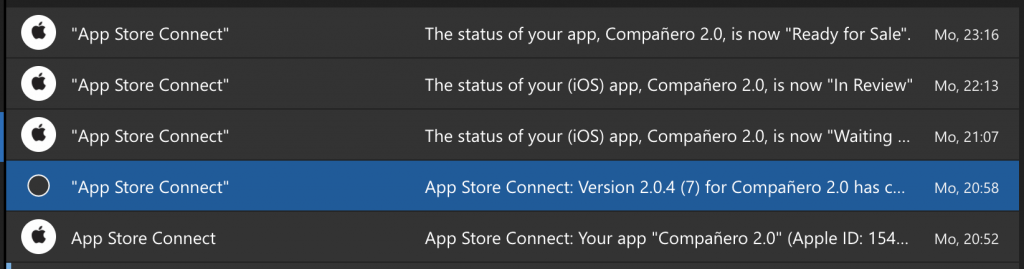
There is a total of 5 e-mails that you will receive in the process of publishing a new app version to the apple store.
The one telling you, that your app is now Ready for Sale is the last step. Your users are now able to update their apps with the new version.
Based on my experience, this step will take at least half a day.
Web Update
Create web files
Run flutter build web in your ide’s terminal. This will create the build files in your projects /web directory.
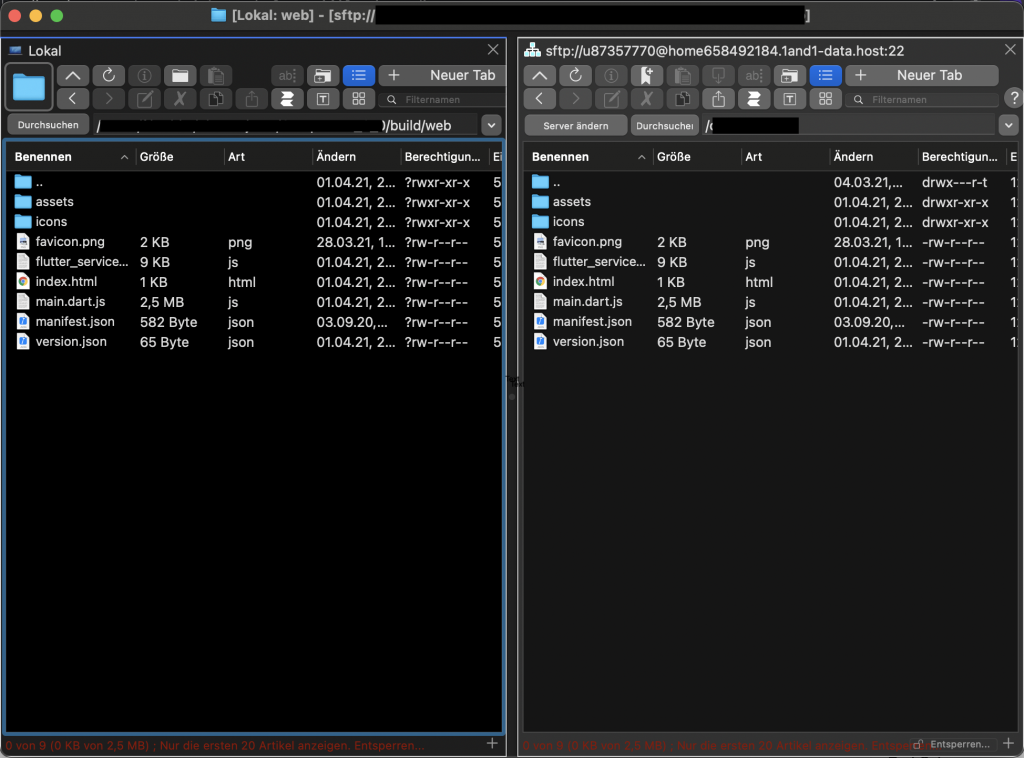
Use the ftp client of your choice to connect with your web hosting. Upload the new files and check in your browser.
Leave a Reply