
It’s early in my new project – but it’s never too early to introduce proper localization. The longer you wait, the worse the work.
The problem
Even if you are not multilingual, you might want to put your app to more than one market.
Or you are multilingual and you implement localization, just because you can.
Or you just want to keep all the labels, texts, and strings in one place like the good programmer you are.
Just never use a line of plain text in you code, outside from your localization files. Yes, I truly, deeply believe in this…
The material solution
I don’t want credit for code, that’s not mine, so please take a look at the flutter documentation for Internationalizing Flutter Apps.
In short, you need a helper class to handle the localization, teach your main class which language(s) to use and create files for all the languages you are able to use.
The actual coding
Again, these are the minimal required files to implement localization. This app won’t do much but show some (localized) text. But it’s a starting point.
pubspec.yaml (add this dependency and uncomment assets)
flutter_localizations:
    sdk: flutter
assets:
- assets/lang/localization.dart
import 'dart:async';
import 'dart:convert';

import 'package:flutter/material.dart';
import 'package:flutter/services.dart';


class DemoLocalizations {
  DemoLocalizations(this.locale);

  final Locale locale;

  static DemoLocalizations of(BuildContext context) {
    return Localizations.of<DemoLocalizations>(context, DemoLocalizations);
  }

  Map<String, String> _sentences;

  Future<bool> load() async {
    String data = await rootBundle.loadString(
        'assets/lang/${this.locale.languageCode}.json');
    Map<String, dynamic> _result = json.decode(data);

    this._sentences = new Map();
    _result.forEach((String key, dynamic value) {
      this._sentences[key] = value.toString();
    });

    return true;
  }

  String trans(String key) {
    return this._sentences[key];
  }
}

class DemoLocalizationsDelegate
    extends LocalizationsDelegate<DemoLocalizations> {
  const DemoLocalizationsDelegate();

  @override
  bool isSupported(Locale locale) => ['de', 'en'].contains(locale.languageCode);

  @override
  Future<DemoLocalizations> load(Locale locale) async {
    DemoLocalizations localizations = new DemoLocalizations(locale);
    await localizations.load();

    print("Load ${locale.languageCode}");

    return localizations;
  }

  @override
  bool shouldReload(DemoLocalizationsDelegate old) => false;
}
main.dart
This will detect your systems language and use that or your defined fallback.
import 'package:flutter/material.dart';
import 'package:flutter_localizations/flutter_localizations.dart';

import 'localization.dart';

void main() {
  runApp(MyApp());
}

class MyApp extends StatelessWidget {

  @override
  Widget build(BuildContext context) {
    return MaterialApp(
      home: MyHomePage(),
      localizationsDelegates: [
        const DemoLocalizationsDelegate(),
        GlobalMaterialLocalizations.delegate,
        GlobalWidgetsLocalizations.delegate,
      ],
      supportedLocales: [
        const Locale('en', 'US'), // English
        const Locale('de', 'DE'), // German
      ],
      localeResolutionCallback: (Locale locale,
          Iterable<Locale> supportedLocales) {
        if (locale != null) {
          for (Locale supportedLocale in supportedLocales) {
            if (supportedLocale.languageCode == locale.languageCode ||
                supportedLocale.countryCode == locale.countryCode) {
              return supportedLocale;
            }
          }
        }
        return supportedLocales.first;
      },
    );
  }
}

class MyHomePage extends StatefulWidget {
  MyHomePage({Key key, this.title}) : super(key: key);
  final String title;

  @override
  _MyHomePageState createState() => _MyHomePageState();
}

class _MyHomePageState extends State<MyHomePage> {

  @override
  Widget build(BuildContext context) {
    return Scaffold(
      appBar: AppBar(
        title: Text(DemoLocalizations.of(context).trans('title')),
      ),
      body: Column(
        children: [
          Text(DemoLocalizations.of(context).trans('text1')),
        ],
      )
    );
  }
}
In a directory assets/lang/ as described in the pubspec.yaml, you will want to create one file for each language you are going to support.
en.json
{
  "title": "Localization",
  "text1": "Hello World"
}
The result
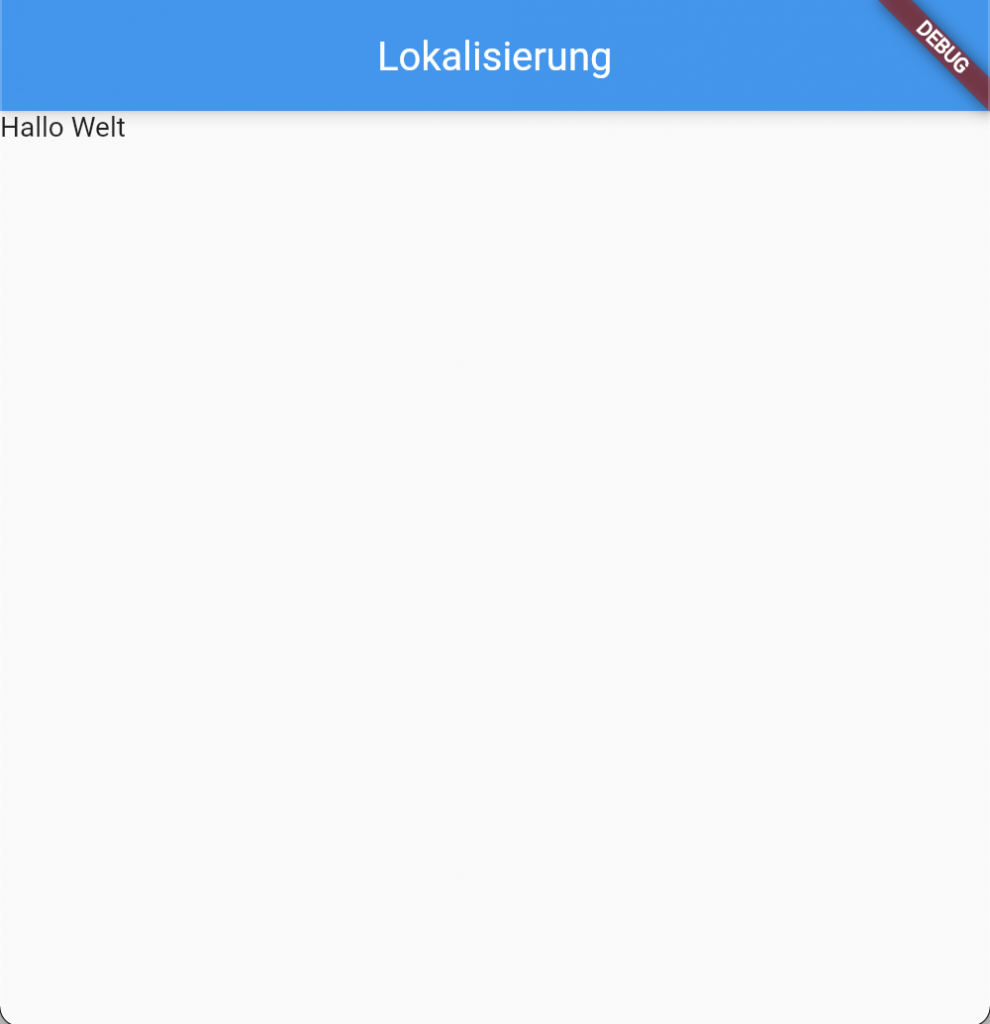
As you can see, my system runs on the german language.
This doesn’t look like much, but the larger your app grows, the better you have your localization set up early on.
Additional…
When developing for iOS, remember to add your localizations to your info.plist file (as said in the tutorial linked above).
Are you multilingual or why are you interested in using localization in your app?
Leave a Reply