
This post series is started to document the creation of my next flutter app. By now, I already have one in the stores, but the framework changes so quickly, that best practices might be outdated. Nonetheless I wish to include as many aha-moments into this series as possible, hoping that some of you might find this valuable.
The problem
I start such a project with sketches of the screens. I won’t include them here, but let’s say that many app consist of several screens and the user will want to navigate between them.
To me a first milestone is so habe the screens instantiated and navigate between them. Then I will go on and fill those screens with live, images, and functionality.
So the problem is somewhat simple: I want… three screens and a nice navigation between them.
The material solution
This is by way not the only solution possible. I played some time with a BottomNavigationBar and finally decided for a TabNavigator. It really depends on what you want to archive.
To me it was important to store the navigation in just one place. My example code is as free from styling and extras as possible, so you can adjust it to your liking (I would love if more tutorials would do so).
The actual coding
Besides from creating a new flutter project, you don’t need any extra dependencies to implement a tab navigation.
I will link my git project as soon as I figured out how to properly do that.
main.dart
void main() {
  runApp(App());
}
app.dart
class App extends StatelessWidget {
@override
Widget build(BuildContext context) {
return new MaterialApp(
title: 'AppTitle',
home: DefaultTabController(
length: 3,
child: Scaffold(
appBar: AppBar(
title: Text('Tab Navigation'),
bottom: TabBar(
tabs: [
Tab(icon: Icon(Icons.home_filled), text: 'Home',),
Tab(icon: Icon(Icons.edit_outlined), text: 'Projects'),
Tab(icon: Icon(Icons.settings), text: 'Settings'),
],
),
),
body: TabBarView(
children: [
HomeScreen(),
ProjectsScreen(),
SettingsScreen(),
],
),
)
)
);
}
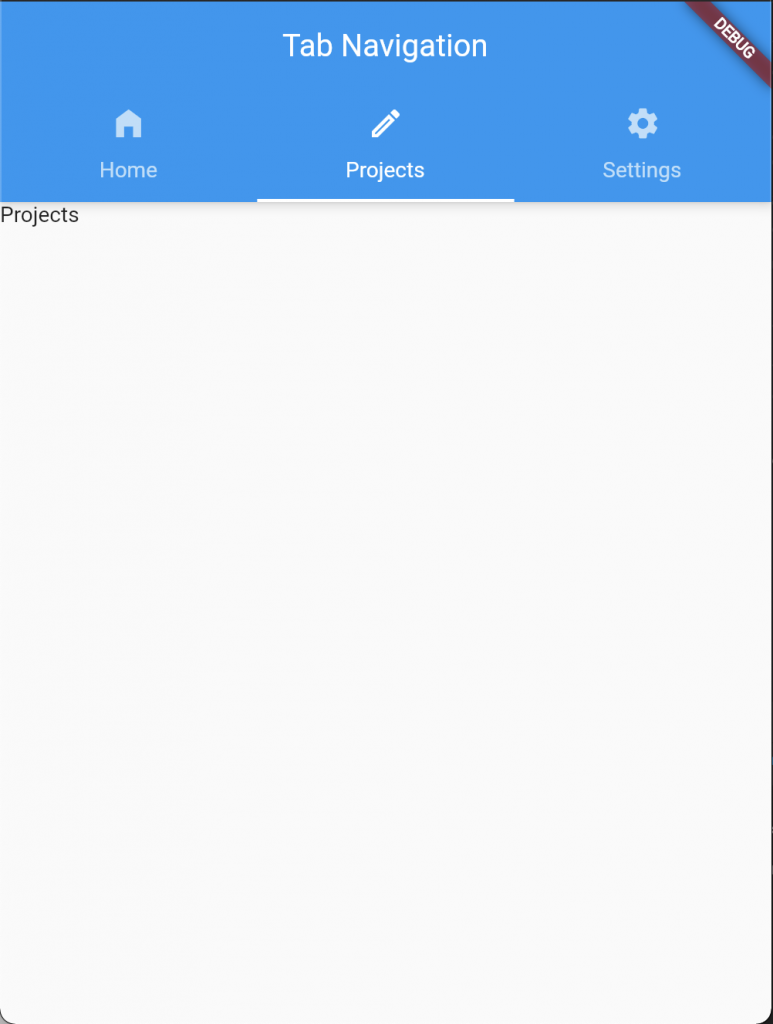
}I choose to have a navigation between three screens. The files for them are stored in a separate folder ui/screens/. I will only present one of them, as they are similar (at this stage of the project).
home_screen.dart
class HomeScreen extends StatefulWidget {
  @override
  State<StatefulWidget> createState() => HomeScreenState();
}

class HomeScreenState extends State<HomeScreen> {

  @override
  Widget build(BuildContext context) {
    return Text('Goal');
  }

}
The result
The result is really nothing fancy, but you can click around and be content with a day of work.
I hope this documentation will keep me accountable. Next posts will contain localization, ads, purchases, accounts… whatever I fancy at next.
Anyone out there who want’s to present his favorite type of navigation?
Leave a Reply